

What is the welding time setting for a resistance welding machine?
Leave a message

When it comes to resistance welding machines, one of the most critical factors influencing the quality of the welds is the welding time setting. As a leading supplier of resistance welding machines, we have a deep - seated understanding of how this parameter can significantly impact the final outcome of the welding process. In this blog, we will delve into the concept of welding time settings for resistance welding machines, exploring what it is, why it matters, and how to set it correctly.
What is the Welding Time Setting for a Resistance Welding Machine?
The welding time setting in a resistance welding machine refers to the duration for which an electrical current is applied to the workpieces being welded. During the welding process, an electrical current is passed through the contact area of the two workpieces. This current generates heat due to the electrical resistance of the materials, which in turn causes the materials to melt and fuse together, creating a weld.
The welding time is measured in milliseconds or cycles (in the case of AC power sources). It is one of the three primary variables in resistance welding, along with welding current and electrode force. These three variables work in tandem to determine the quality and strength of the weld.
Why Does Welding Time Matter?
Weld Quality
The welding time has a direct impact on the quality of the weld. If the welding time is too short, the heat generated may not be sufficient to melt the materials adequately. As a result, the weld may be weak, with poor fusion between the workpieces. This can lead to weld failures under stress, which is unacceptable in most industrial applications.
On the other hand, if the welding time is too long, excessive heat is generated. This can cause the materials to over - melt, leading to issues such as expulsion (the ejection of molten metal from the weld area), distortion of the workpieces, and a reduction in the strength of the surrounding material due to overheating.

Material Properties
Different materials have different melting points and electrical resistivities. For example, copper has a relatively low melting point and high electrical conductivity, while steel has a higher melting point and lower electrical conductivity. Therefore, the welding time required for copper will be different from that for steel. A proper welding time setting takes into account the material properties of the workpieces to ensure a high - quality weld.
Productivity
The welding time setting also affects productivity. In mass - production environments, reducing the welding time without compromising the weld quality can significantly increase the production rate. However, it is a delicate balance, as decreasing the welding time too much can lead to poor welds, which will require re - work and ultimately reduce productivity.
How to Set the Welding Time Correctly
Material and Thickness
The first step in setting the welding time is to consider the material and thickness of the workpieces. Generally, thicker materials require longer welding times because more heat is needed to melt through the entire cross - section. For instance, if you are welding two thick steel plates, you will need a longer welding time compared to welding two thin steel sheets.
Here is a rough guide for some common materials:
- Aluminum: Aluminum has a relatively low melting point and high thermal conductivity. Welding times for aluminum are typically shorter compared to steel of the same thickness. For thin aluminum sheets (less than 1 mm), the welding time may be in the range of 10 - 30 milliseconds. For thicker aluminum parts (2 - 5 mm), the welding time could be 50 - 150 milliseconds.
- Steel: Steel has a higher melting point and lower thermal conductivity. For thin steel sheets (less than 1 mm), the welding time may be around 20 - 40 milliseconds. For thicker steel plates (3 - 6 mm), the welding time can range from 100 - 300 milliseconds.
Welding Current and Electrode Force
As mentioned earlier, the welding time is interrelated with the welding current and electrode force. If the welding current is increased, the heat generated per unit time is also increased. Therefore, the welding time can be reduced to achieve the same level of heat input. Similarly, if the electrode force is increased, the contact resistance between the workpieces decreases, which may require an adjustment of the welding time.
A good practice is to start with a recommended set of parameters for the specific material and thickness, and then make small adjustments based on the actual welding results. For example, if the weld is too weak, you can slightly increase the welding time or the welding current. If there is expulsion, you may need to reduce the welding time or the welding current.
Equipment and Process Requirements
The type of resistance welding machine and the specific welding process also play a role in determining the welding time. For example, spot welding and butt welding have different requirements. In butt welding, the entire cross - section of the workpieces needs to be heated and fused, which may require a longer welding time compared to spot welding, where only a small area is welded.
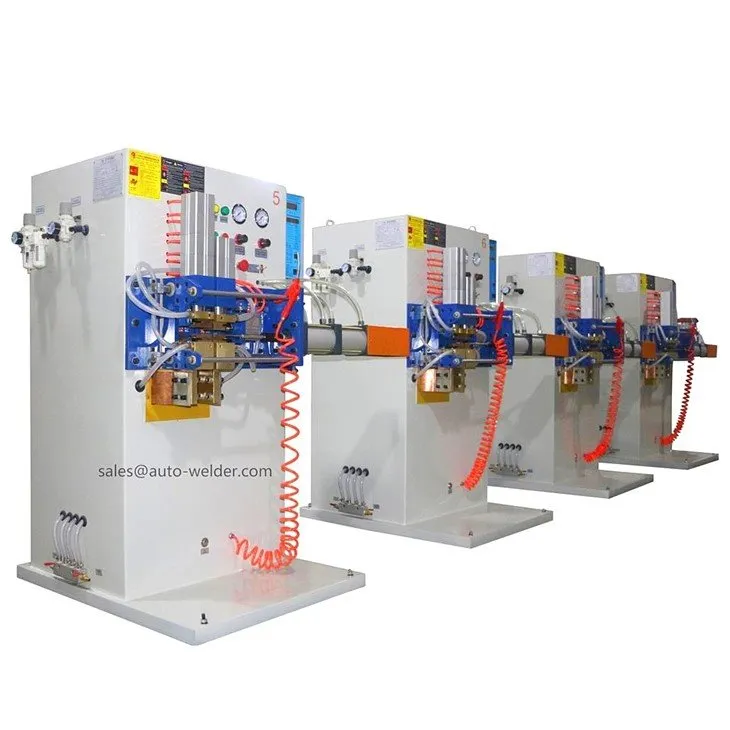
As a resistance welding machine supplier, we offer a variety of machines suitable for different applications. For instance, our Refrigerator Condenser Butt Welding Machine is specifically designed for butt welding refrigerator condensers. Our Copper and Aluminum Tube Butt Welding Machine is tailored for high - quality butt welding of copper and aluminum tubes. And our Compressor Pipe Butt Welder is ideal for welding compressor pipes. Each of these machines may have different optimal welding time settings based on their design and the nature of the workpieces they are used to weld.
Testing and Optimization
Once you have set the initial welding time based on the material, thickness, and other factors, it is essential to conduct welding tests. Take a sample of the workpieces and perform a series of test welds. Examine the welds for visual defects such as cracks, porosity, and expulsion. You can also perform destructive or non - destructive testing to evaluate the strength and quality of the welds.
Based on the test results, make adjustments to the welding time and other parameters as necessary. Keep a record of the parameters and the corresponding weld quality to establish a set of optimal parameters for future production runs.
Contact for Purchasing and Consultation
If you are in the market for a high - quality resistance welding machine or need more information about welding time settings and other welding parameters, we are here to assist you. Our team of experts has extensive experience in the field of resistance welding and can provide you with professional advice and customized solutions. Feel free to reach out to us to discuss your specific requirements and start a successful partnership.
References
- "Resistance Welding Manual", American Welding Society
- "Welding Metallurgy", John C. Lippold and Douglas R. Kotecki


